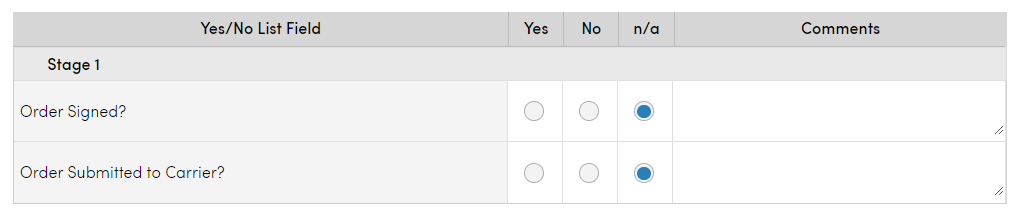
A Yes/No List field is great for creating a checklist with set list options. You can change the Yes or No label text to be other values such as Completed/Incomplete, True/False, or Pass/Fail.
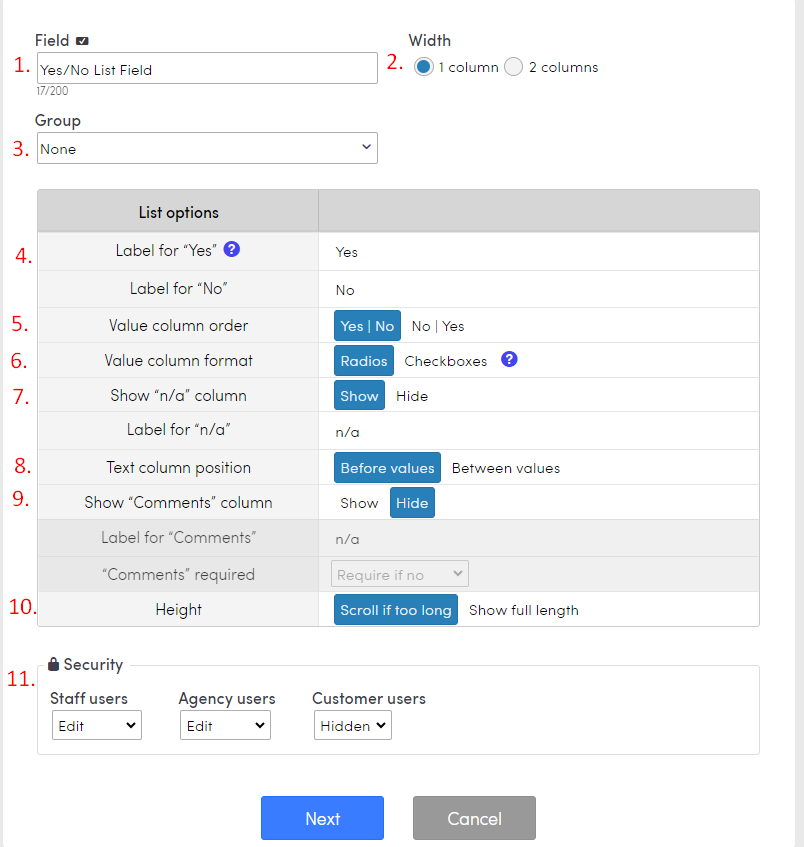
1. Field: title/name of your checklist goes here.
2. Width: select the width of your field (1 column is half the page, 2 columns the checklist will span the entire page).
3. Group: select a field group, if required.
4, Label for "Yes" and Label for "No" : you can change the labels/column header to reflect the values you are looking for. For example: Yes="Pass", No ="Fail".
5. Value column order: order in which the values will display.
6. Value column format: all the user to choose between yes and no buttons on the checklist or only a single check box to indicate the yes value.
7. Show "n/a" column: If Shown, it will require a name for the "n/a" column. Hide keeps the "n/a" column hidden.
8. Text column position: determine where the text of the options will appear - before the yes/no values or in between them.
9. Show "Comments" column: If shown, it will require a name for the "Comments" column or you can retitle the column to something different. "Comments Required": you have options to determine if a Comment or text is required based on the value selected. Require if yes or no, both values, or not required.
10. Height: option to collapse the checklist and have a scroll bar or show full length.
11. Security: Security settings would allow you show/hide the field based on the type of user or make the field required for the user to fill out.
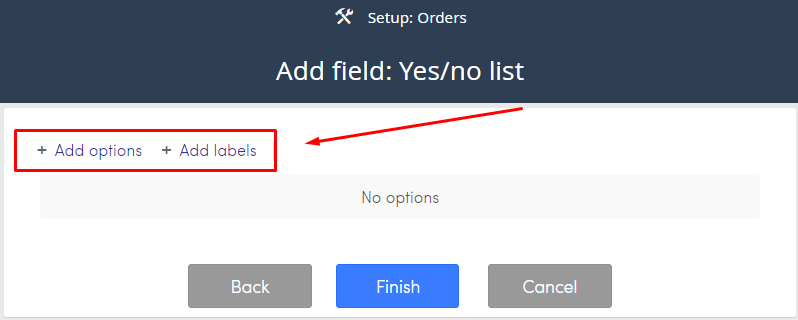
+Add Options: to add the questions or the items/rows to your Yes/No List.
+Add Labels: to categorize or create headers in your list.
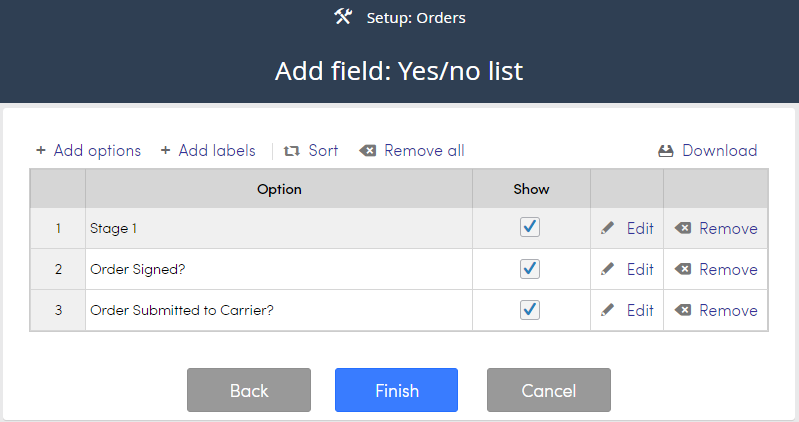
Below will be how the Yes/No list will appear to your users.